French Toast is one of those breakfast classics that never gets old. It’s warm, comforting, and can be customized to fit any taste, making it a favorite for many. But there’s a secret to making French Toast that stands out from the rest: achieving that perfect, fluffy texture.
Thank you for reading this post, don't forget to subscribe!Imagine biting into a slice of French Toast that’s not just golden brown on the outside but also soft and airy on the inside. It’s like a delicious, sweet cloud! Getting that texture just right can turn an ordinary breakfast into something extraordinary.
In this post, we’ll share 7 essential tips to help you make French Toast that’s perfectly fluffy every time. From choosing the right bread to getting the cooking temperature just right, these tips will help you create French Toast that’s sure to impress. So, let’s dive in and make your breakfast dreams come true!
Perfect Fluffy French Toast
When it comes to breakfast, nothing beats a plate of Perfect Fluffy French Toast that makes your taste buds dance! Imagine sinking your fork into thick slices of bread, golden brown and dripping with maple syrup. To achieve that dreamy fluffiness, start with the right bread—brioche or challah works wonders! Don’t skimp on the egg mixture; a touch of vanilla and a sprinkle of cinnamon elevate the flavor to new heights. Let the bread soak just long enough to absorb the mixture without falling apart, and cook it on medium heat for that ideal golden crust. With these seven secret tips, you’ll be serving up breakfast bliss that your family will crave time and time again!
1. Choose the Right Bread
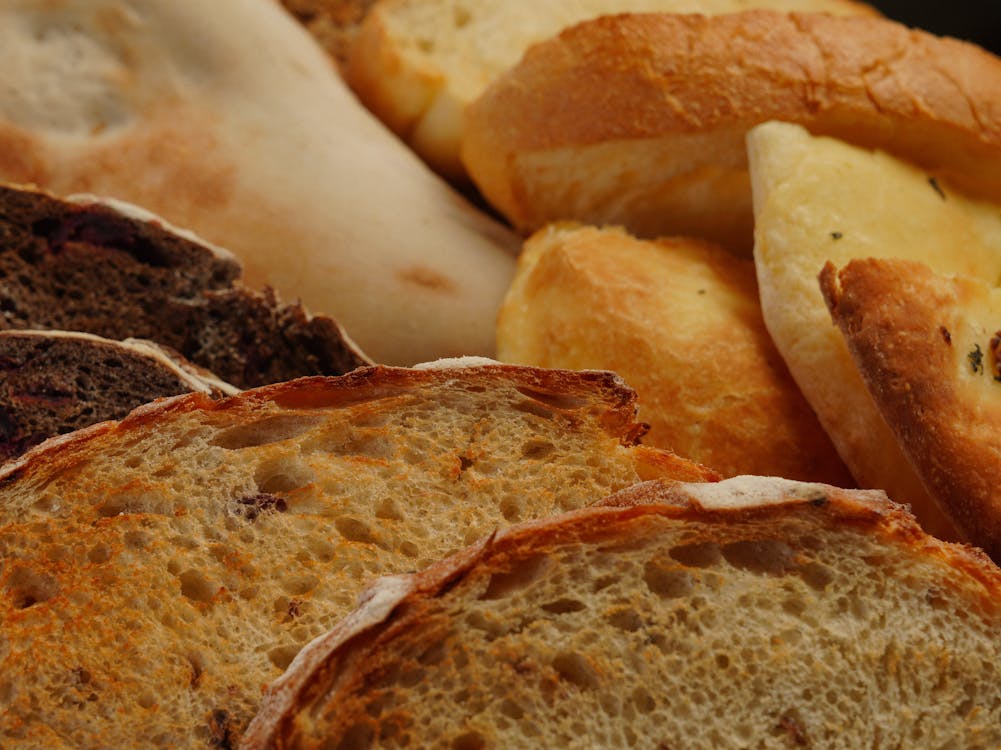
Picking the right bread is a game-changer for making fluffy French Toast. The bread you choose affects how well it soaks up the egg mixture and how soft and airy the final result is.
Why Bread Choice Matters:
The thickness and moisture of the bread are key. If the bread is too thin, it might get soggy quickly, and if it’s too fresh, it won’t absorb the egg mixture properly. You want bread that’s sturdy enough to hold up when soaked but still soft and fluffy.
Recommended Types of Bread:
- Brioche: This rich, buttery bread is perfect for French Toast. Its soft texture makes it great at soaking up the egg mixture while still holding its shape.
- Challah: Another sweet and soft bread, challah adds a lovely flavor and texture to your French Toast.
- Thick-Cut Sourdough: For a more robust and slightly tangy twist, thick-cut sourdough works well. Its density helps achieve a hearty, satisfying French Toast.
Tips for Preparing Bread:
- Slightly Stale Bread: Using bread that’s a bit stale can actually be a good thing. Slightly dried-out bread soaks up the egg mixture better and doesn’t turn soggy as quickly. If your bread is fresh, just leave it out for a few hours or toast it lightly before using.
Choosing the right bread and preparing it properly will help you make French Toast that’s wonderfully fluffy and delicious.
2. Perfect Your Egg Mixture
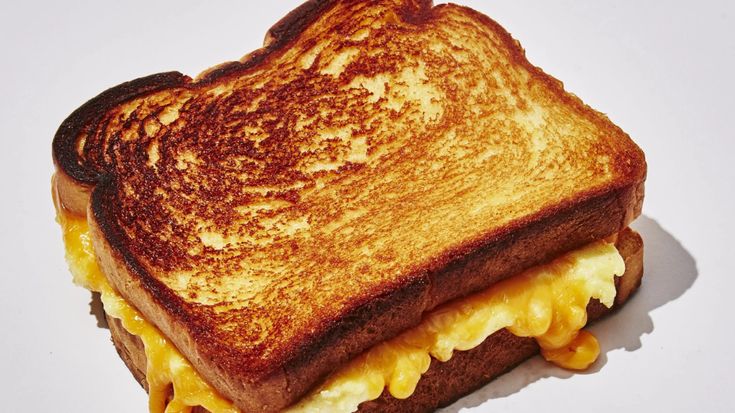
To make your French Toast perfectly fluffy, getting your egg mixture just right is key. Here’s how to nail it:
Why It Matters
A well-balanced egg mixture is crucial because it’s what makes your French Toast light and airy. Too little egg, and your toast might end up dry; too much, and it could become soggy.
The Right Ratio
For a fluffy texture, aim for about 1 egg per 1/2 cup of milk. If you want an extra creamy touch, you can add a splash of cream to the mix. Don’t forget to toss in a teaspoon of vanilla extract for a hint of sweetness that makes your French Toast even more delicious.
Whisking Tips
Whisk your mixture well until it’s completely smooth. This ensures that all the ingredients are fully combined and that the eggs and milk are evenly distributed. A smooth mixture helps the bread soak up just the right amount of liquid without becoming too heavy or too runny.
Follow these simple steps, and you’ll be on your way to making French Toast that’s light, fluffy, and absolutely scrumptious!
3. Use the Right Cooking Temperature
Getting the temperature just right is key to making French Toast that’s perfectly fluffy and not burnt. If your pan is too hot, the outside can turn brown too quickly, leaving the inside undercooked and dense. But if it’s too cool, your French Toast might end up soggy and unevenly cooked.
Here’s how to get it right:
- Set Your Pan or Griddle to Medium Heat: This is usually the sweet spot for cooking French Toast. It’s hot enough to give you a golden-brown crust but not so hot that you risk burning it. If you’re using a non-stick pan, make sure it’s evenly heated before you start cooking.
a) Turn the Heat to Medium: This is usually the best setting for French Toast. It ensures your bread gets a beautiful crust without cooking too quickly.
b) Preheat Evenly: If you’re using a non-stick pan or griddle, let it heat up evenly before adding the French Toast. You can check if it’s ready by sprinkling a tiny drop of water on the surface. If it sizzles right away, it’s hot enough.
By sticking to medium heat and making sure your pan is evenly heated, you’ll get deliciously golden French Toast every time.
2. Test the Temperature:Before you start cooking all your French Toast slices, it’s a good idea to test your pan to make sure it’s at the right temperature. Here’s how to do it:
a) Drop a Small Bit of Batter: Just take a tiny bit of your egg mixture and drop it onto the pan.
b) Listen for the Sizzle: If you hear a gentle sizzle, that’s a good sign the pan is ready. It means the heat is just right for cooking your French Toast.
c) Adjust if Necessary: If you hear a lot of popping and see some smoke, the pan is too hot. Turn down the heat a bit and give it a moment to cool down.
d) No Sizzle? Turn Up the Heat: If you don’t hear any sizzle at all, the pan isn’t hot enough. Turn up the heat slightly and test it again.
3. Adjust as Needed: Cooking French Toast is a bit like being a Goldilocks—everything needs to be just right. If you notice your French Toast is cooking too quickly and getting too dark before the middle is cooked, turn down the heat a bit. This way, the inside gets a chance to cook through without the outside burning.
On the other hand, if your French Toast seems to be taking forever and not browning nicely, you might need to turn up the heat just a notch.
So, keep an eye on how your French Toast is cooking and adjust the heat as needed. It’s all about finding that perfect balance so you get that golden, fluffy toast every time!
By keeping an eye on the temperature and making adjustments as needed, you’ll ensure that your French Toast comes out golden brown on the outside and deliciously fluffy on the inside.
4. Let the Bread Soak Properly
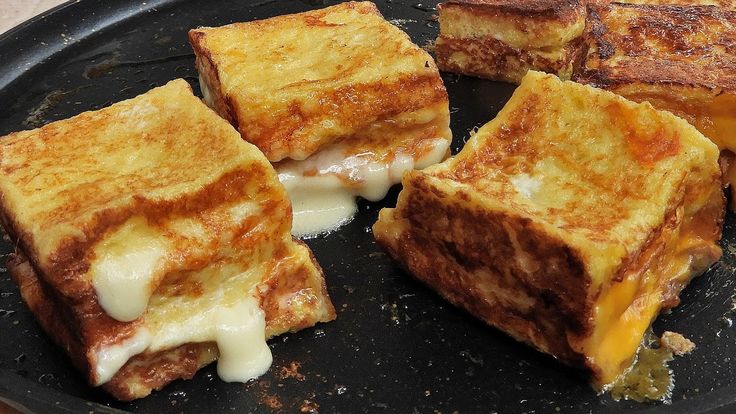
Getting the soaking time just right is the secret to achieving the perfect French Toast—crispy on the outside and soft, fluffy on the inside. The bread needs to absorb the egg mixture evenly, ensuring it has the right texture. Here’s how soaking time plays a crucial role in getting this balance right:
How Soaking Time Affects Texture
- Too Short: If the bread isn’t soaked long enough, the center remains dry and dense. This leads to an uneven texture, where some bites feel dry while others may be flavorful. The egg mixture needs enough time to penetrate the bread’s surface and fully flavor each slice.
- Too Long: On the other hand, soaking the bread for too long can leave it overly soggy. The bread may start falling apart during cooking, leading to a mushy texture rather than the desired golden, crisp finish. It’s essential to find the sweet spot between under-soaked and oversoaked.
Recommended Soaking Time
A general rule of thumb is to soak each side for about 20-30 seconds. This ensures that the egg mixture has time to soak through without overwhelming the bread. Thicker slices, such as brioche or challah, might need a few more seconds per side since they can absorb more liquid without falling apart. Be mindful not to let the bread sit too long, especially if you’re using a thinner or less sturdy variety like white sandwich bread.
Tips for Flipping and Even Coating
- Gently Flip: Use a fork or tongs to gently flip the bread after the first side has had enough time to soak. This will help prevent the bread from tearing and ensure both sides are evenly coated.
- Don’t Oversaturate: Make sure the bread is soaked through but not dripping wet. You want it saturated with the egg mixture without becoming so heavy that it’s difficult to cook or results in an uneven, overly soggy texture.
Bonus Tip: Use the Right Bread
Choosing the right bread is equally important for achieving that perfect French Toast. Dense, thick slices like brioche, challah, or even slightly stale bread work best because they hold up to soaking better and give you that soft interior with a crispy crust.
Mastering the soak is one of the most important steps in preparing French Toast, giving you that delightful contrast of textures—crispy on the outside and fluffy on the inside.
5. Opt for a Non-Stick Pan or Well-Seasoned Griddle
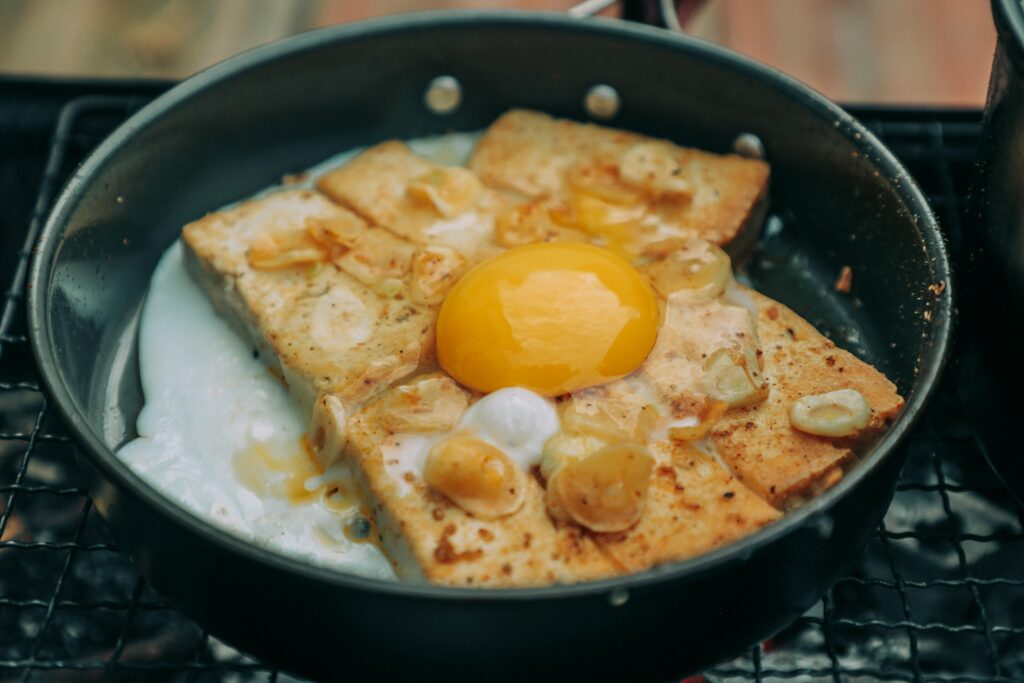
When making French toast, the cookware you choose can make a noticeable difference in both the cooking process and the final result. Using the right pan or griddle ensures that your French toast turns out perfectly golden-brown, with minimal effort.
Why It Matters:
Non-Stick Convenience: A non-stick pan allows your French toast to cook without sticking to the surface. This is crucial for getting that smooth, even golden finish on each side of the toast. The non-stick coating ensures the toast can be flipped easily, preventing the frustration of it sticking, breaking apart, or becoming unevenly cooked. You’ll also avoid the need to use excessive oil or butter just to prevent sticking, making the dish slightly healthier.
Seasoned Griddles for Extra Flavor: A well-seasoned griddle functions similarly to a non-stick pan, but with the added benefit of imparting a slight flavor from the seasoning. Cast iron griddles are known for their ability to develop a natural non-stick surface when properly seasoned. Over time, a seasoned griddle adds depth and complexity to dishes, infusing a subtle hint of flavor that non-stick pans don’t provide. Using such a griddle for French toast can result in a richer taste, especially if you’ve used it for other savory dishes before.
How It Affects Cooking:
Even Heat Distribution: Both non-stick pans and seasoned griddles provide even heat distribution, which helps prevent hot spots that can cause your French toast to burn. French toast requires a gentle cook to ensure that the custard mixture soaks through the bread without drying out, and evenly heated cookware helps achieve this balance. An evenly cooked French toast will have that perfect crisp exterior while remaining soft and fluffy inside.
Effortless Flipping: One of the trickiest parts of making French toast is flipping it without tearing or losing the shape. A non-stick surface or a seasoned griddle makes flipping simple, as the toast will glide off the pan without any resistance. No sticking means less risk of mishaps, and your slices will stay intact and visually appealing.
Tips for Maintenance:
Caring for Non-Stick Pans: To prolong the life of a non-stick pan, avoid using metal utensils that can damage the coating. Opt for wooden, silicone, or plastic utensils to preserve the surface. Non-stick pans should also be cleaned with care—handwashing with gentle soap is recommended to avoid any abrasive damage. Avoid using harsh scrubbers that can wear down the non-stick surface over time.
Maintaining a Seasoned Griddle: Seasoning a cast-iron griddle involves applying a thin layer of oil and heating it until the oil bonds with the pan, forming a protective, non-stick layer. To keep the griddle in good condition, avoid using soap when cleaning it, as soap can strip away the seasoning. Instead, clean with hot water and a scrub brush. After each use, apply a thin coat of oil to keep it seasoned and protect it from rust. The more you use and season the griddle, the better it will perform over time.
The Takeaway:
Choosing between a non-stick pan and a well-seasoned griddle depends on your personal preference. Non-stick pans offer convenience and easy cleaning, while seasoned griddles can enhance the flavor of your French toast and last for generations if properly maintained. In either case, the right cookware will elevate your French toast, making the cooking experience smoother and the results consistently delicious.
6. Add a Touch of Flour to the Mixture for Fluffier French Toast
If you’re looking to elevate your French Toast game, there’s a simple yet transformative trick you might not have heard of: adding a bit of flour to your egg mixture. This small tweak can take your French Toast from ordinary to extraordinary, giving it that coveted fluffy texture that everyone loves.
Why Adding Flour Makes a Difference:
Flour acts as a binding agent that helps create a slightly thicker and more stable batter. When you whisk flour into your egg and milk mixture, it forms a coating that sticks to the bread more effectively, allowing for better absorption of flavors and creating a soft, fluffy result. This extra thickness also means your French Toast won’t feel too soggy or thin after cooking. Instead, it develops a lightly crisp outer layer while staying soft and tender on the inside.
How Much Flour to Use:
You don’t need to go overboard with flour; just a small amount can make a big impact. Start with 1 to 2 tablespoons of all-purpose flour and whisk it into your egg mixture until smooth. Make sure to blend it well, as you want the flour to fully dissolve, leaving no lumps behind. This will give you the perfect consistency—thick enough to adhere to the bread, but not too heavy.
Getting Creative with Flavor Enhancements:
Once you’ve mastered the basic flour trick, you can level up the flavor of your French Toast by adding some extra ingredients to your egg mixture. A pinch of cinnamon or nutmeg can introduce warm, comforting spices that complement the toast beautifully. You could also add a dash of vanilla extract to bring a hint of sweetness and richness to the dish. For those with a sweet tooth, try mixing in a teaspoon of sugar or even a bit of maple syrup into the batter to heighten the overall flavor profile.
Pro Tips for Even Better French Toast:
- Use stale or day-old bread: Fresh bread can become too soft when dipped in batter. Stale bread holds up better, absorbing just the right amount of liquid without turning mushy.
- Opt for thick slices: Using thicker cuts of bread gives your French Toast more surface area to absorb the flavorful egg mixture, making for a heartier, more satisfying bite.
- Cook on medium heat: Too high of a temperature will brown the outside too quickly, leaving the inside undercooked. A medium heat ensures the toast cooks evenly and thoroughly.
By adding a touch of flour, you can create French Toast that’s not only fluffier but also more flavorful and perfectly textured. Next time you’re cooking breakfast, give this trick a try—you’ll love the difference it makes!
7. Finish with a Perfect Touch
To truly elevate your French Toast from a simple breakfast to a culinary masterpiece, the final touches are crucial. By focusing on achieving the right texture, adding delightful toppings, and presenting it beautifully, you can turn this classic dish into something extraordinary. Here’s how to get that perfect finish:
Get the Browning Just Right
The hallmark of perfectly cooked French Toast lies in its appearance. You’re aiming for that coveted light, golden-brown hue on both sides. Achieving this not only ensures that your French Toast is fully cooked, but also provides a crisp exterior that contrasts beautifully with the soft, custardy interior.
- Adjust the heat: Keep an eye on your pan as the toast cooks. If the heat is too high, your French Toast might burn on the outside while remaining undercooked inside. If it’s too low, you’ll miss out on that delightful, crisp texture. Don’t hesitate to tweak the heat level to get it just right.
- Flip with care: When flipping, use a spatula to gently lift the toast and check for browning before turning it over. This helps maintain the texture and shape, ensuring both sides cook evenly.
Top It Off with Delicious Extras
Now that you’ve mastered the cooking, it’s time to take your French Toast to the next level with the perfect toppings. These extras can transform your dish, adding layers of flavor and texture.
- Fruits for freshness: Add a vibrant touch with fresh fruits like strawberries, blueberries, raspberries, or sliced bananas. Their natural sweetness and tartness complement the richness of the toast and bring a pop of color to the plate.
- Sweet drizzles: Drizzle warm maple syrup or honey over the toast for that classic, comforting sweetness. For those who want a little more indulgence, a sprinkle of powdered sugar or a dollop of whipped cream can give your French Toast a dessert-like quality.
- Texture contrast: For added crunch, sprinkle some crushed nuts like almonds or walnuts over the top. This not only boosts the nutritional value but also adds an exciting contrast in texture.
Serve for Maximum Enjoyment
A well-rounded meal goes beyond just taste—it’s also about how you present and pair your food. Serving your French Toast thoughtfully enhances the overall experience, making breakfast feel more indulgent and enjoyable.
- Pair with sides: For a savory twist, serve your French Toast with crispy bacon or sausage. The saltiness of these sides complements the sweetness of the toast. Alternatively, pair it with a fresh fruit salad or a creamy yogurt parfait for a lighter, more balanced meal.
- Pay attention to presentation: Arrange your French Toast neatly on a plate, perhaps stacking the slices or fanning them out for a visual effect. Add the toppings carefully and consider garnishing with a sprig of mint or a dusting of cinnamon for that extra flair. It might seem like a small detail, but presentation can make your meal feel restaurant-quality.
Enjoy Every Bite
With these finishing touches, your French Toast will not only taste amazing but look like a work of art. Whether you’re preparing breakfast for yourself, your family, or guests, these steps ensure that each bite is a delicious, well-balanced treat.
Conclusion
So there you have it—7 easy tips to make your French Toast perfectly fluffy! Remember, it all starts with choosing the right bread, mixing up a smooth egg mixture, and cooking at just the right temperature. Don’t forget to let the bread soak properly, use non-stick cookware, and try adding a touch of flour to your mix. Finally, get that golden-brown finish and top it off however you like.
Give these tips a try and see how they work for you. Feel free to experiment and adjust things to match your taste. We’d love to hear about your French Toast adventures, so drop a comment below or share your creations on social media!
If you want to read more about the food please click here


